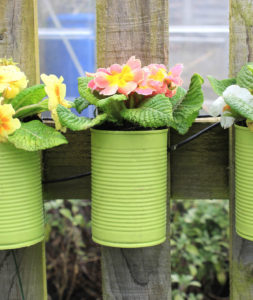
We’ve always liked recycling household objects by putting them to good use in the garden so, with spring now upon us, we’ve been busy refreshing our fences with displays of floral colour using tins as plant pots. Converting a used tin of beans or tomatoes into a garden planter is easy, and decorating them up is a good project for kids (although make sure an adult preps it first to avoid cuts).
It’s inevitable that, after a while, your tin can planter will succumb to rust. You can either embrace this form of natural ageing and enjoy them in their rusty glory; treat the tin can plant pots as a temporary item and spruce them up with minimum fuss; or use the full force of rust prevention tactics to prolong their use for as long as possible. In this guide we’ll take you through the latter of these options – how much effort you put in is entirely up to you. Read on to find out how to grow your own plants in tin cans.
Clean Your Tin Cans
Once empty of food, give your tins a thorough scrub. Do this as soon as possible – when the food starts to dry on the cans it’ll be harder to remove – and be extra careful not to slice your fingers on the tin’s rim. Any glue stuck on the surface from the label should come off with hot water.
Smooth Edges
Use sandpaper or a file to smooth off any sharp edges.
Add Drainage Holes
Your tin plant pot will need drainage holes in the bottom to allow excess water to escape, so turn it upside down and create three or four holes with a drill or hammer and nail. Putting a piece of wood inside the tin can to hammer or drill against will give you extra support and reduce the risk of you denting your can in the process.
Consider Your Fixing
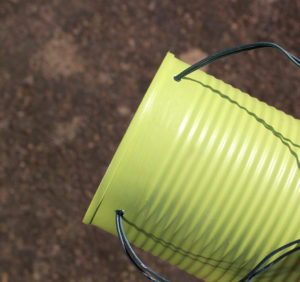
Before you get to the creative part you need to decide how you’re going to hang your tin can plant pot. You could simply fix them directly to a fence with a nail or screw when complete. If you’re hanging them on a wire mesh fence then an s-hook is a good option, in which case you’ll need to create an appropriately sized hole in the side of the tin can. We’re tying ours with wire to a picket fence so need two small holes roughly the width of three fingers apart to thread the wire through. Again, placing wood inside the tin will give it some extra support when creating the holes.
More Sanding
Sand down any sharp bits of metal around the holes and give the outside of the can a light sanding to allow the paint to grip to its surface.
Prime
Before painting you’ll want to cover your tin plant pot in a metal primer suitable for outdoor use. Check the instructions on the primer label to find out how many coats to apply and what drying time to allow and, if in doubt, give it an extra coat.
 Paint
Paint
Once your primer is dry you’ll be ready to paint. Again choose a paint designed for outdoor use on metal and follow the instructions regarding application. We’ve gone for a green that matches some other plant pots in the vicinity, but you can have fun with multiple colours or patterns, or you could even stick things on the surface for extra effects.
Pot Up
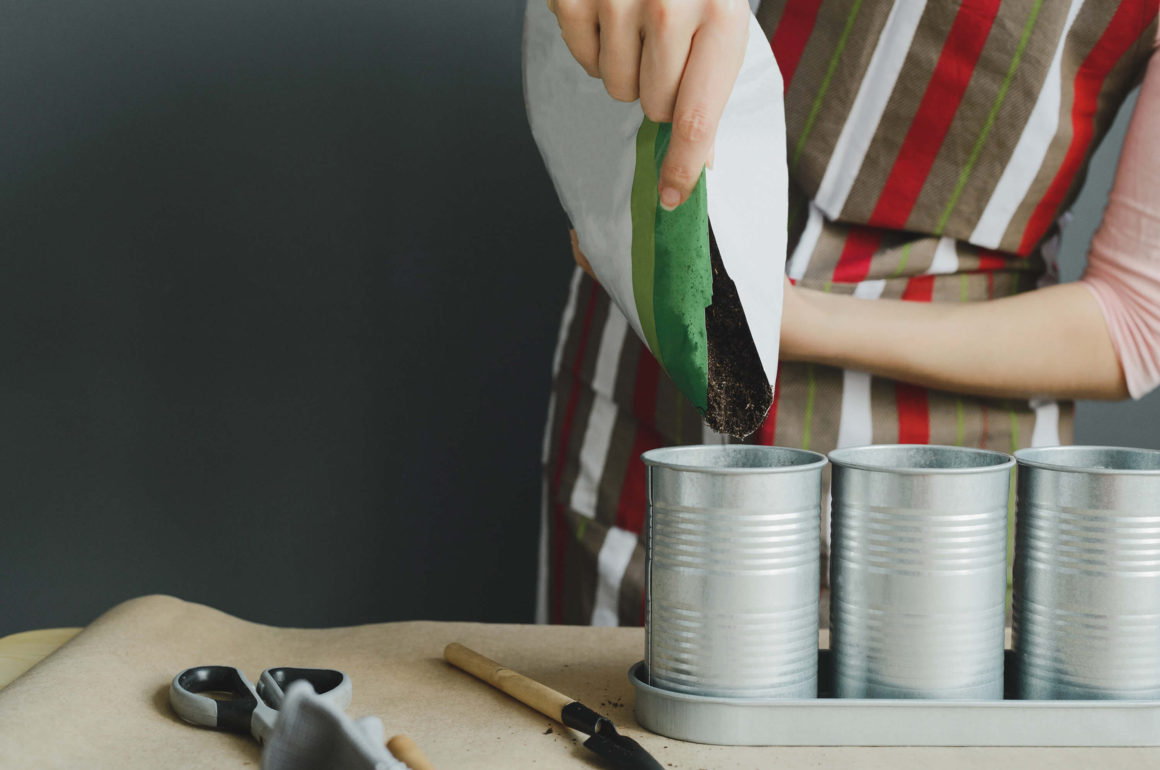
If, like us, you’re tying the tins to a fence with wire then thread it through the holes before you start potting up. Make sure the plants you use come in pots smaller than the can so the roots have room to grow, then fill with a good potting compost, add your plants, water well and your display is ready.
Do you like reusing and recycling in your garden? Will you have a go at recycling tin cans into tin plant pots? Let us know in the comments.


 Paint
Paint The Two Thirsty Gardeners, Rich and Nick, are bloggers who love gardening, eating and drinking in equal measure! They love to share tales from their allotment including their experiments turning the spoils of their crops into alcohol, both the good and the bad!
To find out more about Rich and Nick,


Leave a Comment