Replacing your shed roof felt is one of those gardening jobs that tends to get pushed to the back of the queue (in our case it comes way behind cider-making, scrubbing demijohns and lounging around slurping sloe gin). But with the recent bouts of hurricane-related weather conditions that have been ravaging the UK, it’s possible that this task has shifted up on your list of priorities.
Is the felt on your shed flapping around like a ragged old flag? Are your prized power tools taking a shower every time it rains? Replacing the felt on your roof will only take an hour or two and now is the time to act before winter’s icy grip takes hold…
Dry and bright
It stands to reason, but take a look at the weather forecast and make sure you are in for a spell of dry weather before tackling your shed roof. Any damp patches that you uncover (see below) will need to dry out before laying down new felt.
Rip it off
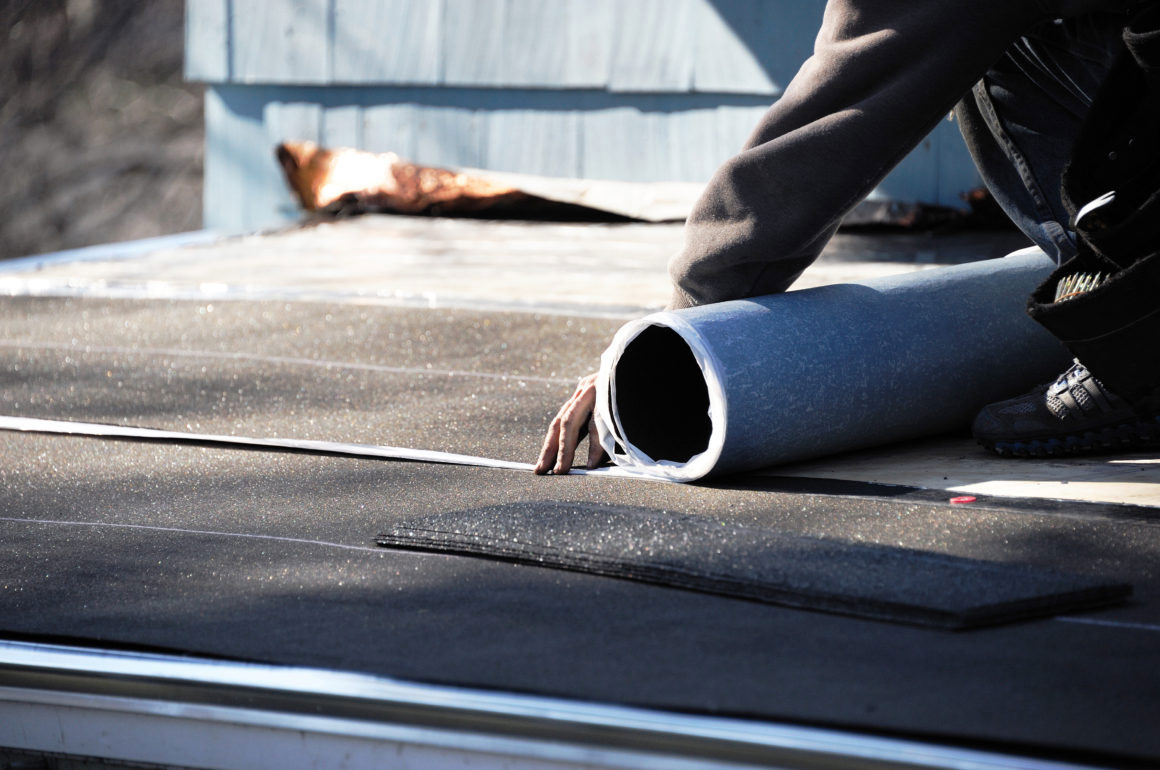
Begin by removing the old roofing felt. Depending on how old and decrepit your shed is, it may just crumble away in your hands, so keep a trug handy to fill with any bits and pieces. Don a pair of gloves and have a stanley knife and decorator’s scraper to hand in case you encounter any areas where the felt refuses to budge. A claw hammer or jemmy are useful tools to lever out any stubborn nails.
 Examine and replace
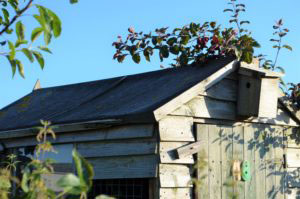
Once you’ve relieved the roof of its shabby old skin, take a close look at the underlying timber. The removal of the old felt may well have revealed rotten planks and joists (an early indication of this would be the sagging and bowing of your shed roof). Repair or replace before continuing your task.
Splash the cash
Try to buy the best felt you can afford – ideally professional grade roofing felt – rather than the cheaper, tissue-thin varieties. Look for felt that has been reinforced with polyester for a superior, weather-foiling finish that will last for years.
Calculate
Work out your roof area, making sure you add on extra for overlaps on joins and overhangs. Ideally, allow for a 50mm overhang on both the gable ends and sides. You’ll most likely need three rows of roofing felt to cover a small shed – one for each side, then one running across the apex, that will overlap the two pieces. Measure your roof again, prior to cutting your felt, then roll out your felt on the ground and cut it to size using a trusty blade and a straight edge.
Tack it down
Lay your first piece of felt across the roof – rough side up – and smooth out any wrinkles, then crack open a packet of clout nails, especially designed for the job in hand. These large headed nails will hold the felt secure and the shallow pointy end – typically 15-20mm mm long – will drive into the wood without penetrating the shed interior.
Tack the felt at the central roof edge to prevent it sliding around whilst you straighten it up, then proceed to tack it into place, starting with the roof edges, followed by the gable ends. Nail at 10 cm intervals. This might sound like nail overkill, but it will prevent the wind getting under your newly laid felt it and skinning it anew. When fastening the corners, simply fold the felt neatly over and hammer in a larger nail to hold it secure.
 Cap it off
Lay the final piece of shed roof felt over the apex, and tack into place using clout nails. If all goes to plan, the heads of the clout nails will sink into the felt to produce a watertight seal. It’s worth going around giving them an extra tap on the head, just to be sure. If your shed is situated on a particularly windy site, you may wish to secure this final piece with a roofing felt adhesive, before nailing it on, for extra protection. For a professional finish, attach barge boards to the side of the shed, then trim off any excess felt.
 The Two Thirsty Gardeners, Rich and Nick, are bloggers who love gardening, eating and drinking in equal measure! They love to share tales from their allotment including their experiments turning the spoils of their crops into alcohol, both the good and the bad!
To find out more about Rich and Nick, click here.
The Two Thirsty Gardeners, Rich and Nick, are bloggers who love gardening, eating and drinking in equal measure! They love to share tales from their allotment including their experiments turning the spoils of their crops into alcohol, both the good and the bad!
To find out more about Rich and Nick, click here.